TECKIN SP20 Smart WiFi Plug User Manual
Consejos
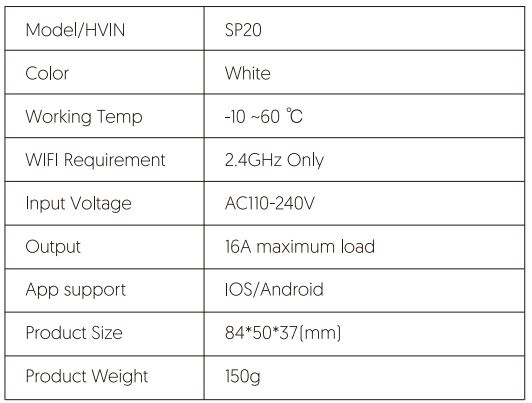
- Sólo admite redes Wi-Fi de 2,4 GHz
- Pasos simplificados para instalar la aplicación en su teléfono inteligente o tableta en Apple/Google Play Store
- Funciona con Amazon Alexa. Google Home & IFTTT.
Especificaciones clave
Estructura Introducción
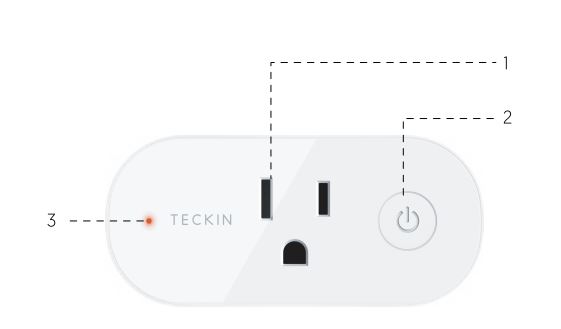
- Enchufe
- Interruptor On/Ott
- Indicador
Cómo conectar el Enchufe Inteligente a la red Wi-Fi
- Descargar Smart Life desde
 o
o 
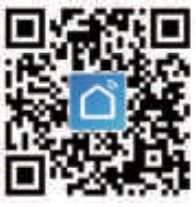
- Descargue o escanee el código O e instale la aplicación Smart Life para iOS y Android. Una vez descargada, la aplicación le pedirá que registre su dispositivo. Introduzca su número de teléfono o correo electrónico. Si elige el número de teléfono, recibirá un mensaje de texto con un código de registro. Si elige el correo electrónico, creará una contraseña.
Atención: No se necesita código de registro si se elige el método de correo electrónico.
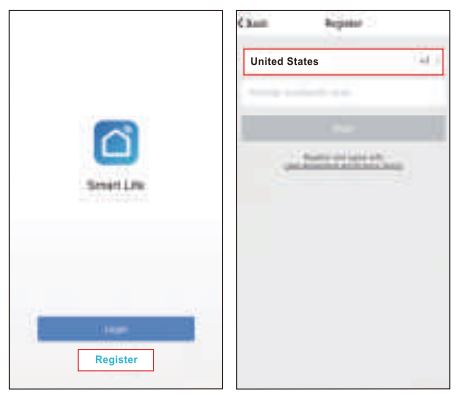
Nota: hay dos modos de configuración (Modo Rápido / Modo AP) disponibles para que elija antes de añadir el dispositivo a la aplicación. Se recomienda el Modo Rápido.
Configuración del modo rápido (común)
1. Asegúrese de que se ha iniciado la configuración en modo rápido: el indicador luminoso parpadea rápidamente en azul [twice per second). If it blinks blue slowly [once every 3 seconds]2. Mantenga pulsado el botón de encendido del Mini Enchufe Inteligente durante 6 segundos hasta que la luz indicadora parpadee rápidamente. 2. Pulse el icono -+- en la parte superior derecha de «Smart Lite», elija su tipo de dispositivo y entre en «Añadir dispositivo».
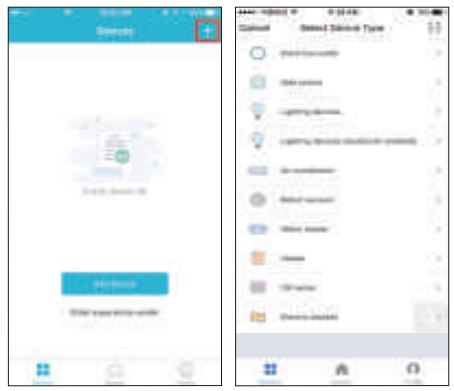
3.Siga las instrucciones de la aplicación para conectar el Smart Plug a su red Wi-Fi.
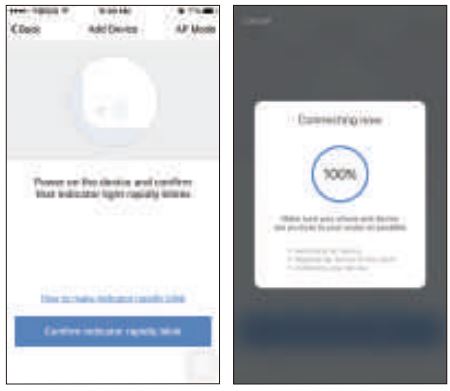
4.Una vez conectado, la aplicación le avisará de la conexión y haga clic en «Listo».
5.Ahora puede controlar el Enchufe Inteligente a través de la APP Smart Life.
6.Una vez que la configuración se haya completado con éxito, la luz indicadora se encenderá en rojo y el dispositivo se añadirá a la lista de «Dispositivos Utilizados».
Configuración del modo AP
1.Asegúrese de que se ha iniciado la configuración del modo AP: la luz indicadora parpadea en azul lentamente (una vez cada 3 segundos(. Si parpadea en azul rápidamente [twice per second). press and hold the power button on the Smart Plug for 6 seconds until the indicator light blinks slowly.
2.Tap the icon·+· at the top right corner of “Smart lite· tab and then select the device type (Electrical outlet). enter into the “Add Device· page, click “AP Mode” at the top right corner of “Add Device· tab to add device.
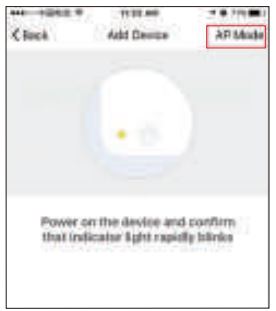
3.Follow the in-app instructions to connect the Smart Plug to your Wi-Fi network.
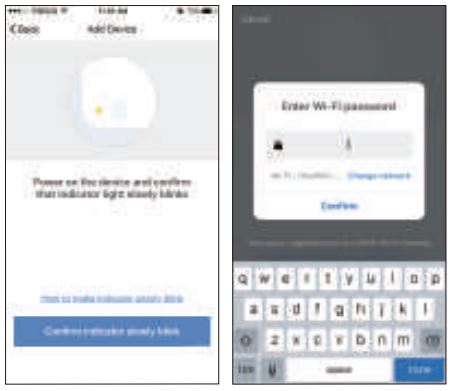
4.0nce connected, the App will prompt the connection, and click ·Done·.
5.Now you can control the Smart Plug through Smart Life APP.
6.0nce the configuration is completed successfully, the indicator light will turn to solid red and the device will be added to the “Device List”.
Please note: you can add the Smart Plug to Echo/ Google Home following this instructions below. Or the one on the app (Open Smart Life App, go to “Profile” -> “Integration· . tap “Amazon echo “or “Google Home” and install)
How to connect Smart Plug to Amazon Alexa
l. launch Smart Life App, sign in your account and make sure Smart Plug is in device list.
2.Modify device name so that Alexa can easily recognize, such as: Living Room Light. Bedroom Light etc.
3.Minimize Smart Life App, then Launch the Alexa App and sign in your Alexa account and make sure you have at least one Alexa voice-controlled device installed like Echo, Echo dot etc.
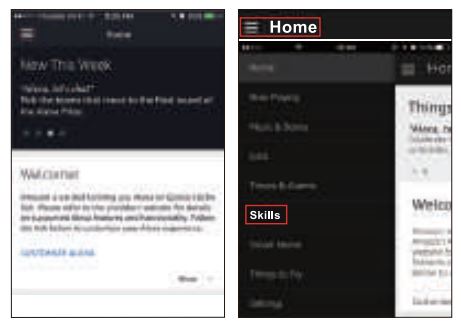
4.ln the upper left corner of Home page, click ![]() button to show App menu. Then clicks “Skills” in the menu.
button to show App menu. Then clicks “Skills” in the menu.
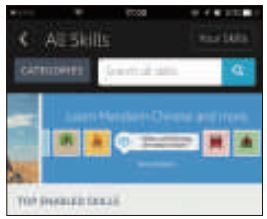
5. Type in Smart Life in the search and click the search button next to it.
6. Enable Smart Life to the skill, then sign in your Smart life account to complete the account linking.
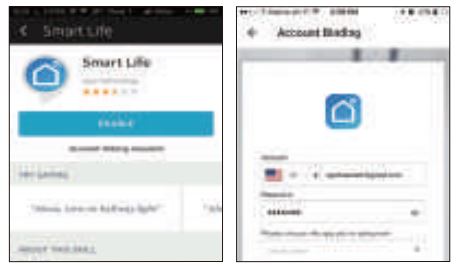
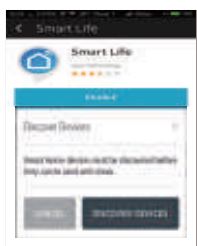
7. After linked account successfully, you can ask Alexa to discover devices. Alexa will show all the discovered devices after 20 seconds.
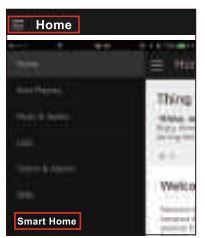
8. Back to Menu by clicking ![]() button. and then click “smart Home “button.
button. and then click “smart Home “button.
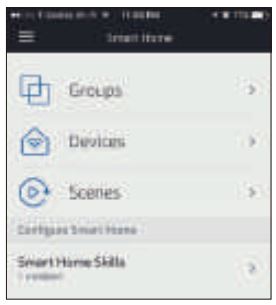
9. In Smart Home page, you can group your devices for different categories. Your Smart Life APP has been skilled with Alexa. Now you can control your Smart Plug through Alexa.
How to connect Smart Device to Google Home
1. Launch the Google Home App and made sure Google Home speaker is installed. If not, please follow Google Home speaker installation instruction to complete the installation.
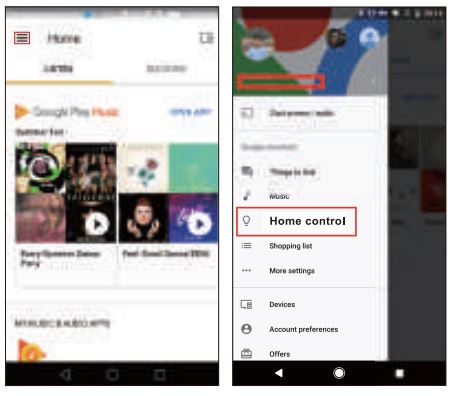
2.0nce Google Home is installed, in the upper left corner of App Home page, click ![]() button to show App menu. Then click “Home Control in the menu.
button to show App menu. Then click “Home Control in the menu.
3. on “Add device” page. scroll down to find ·smart Life” and then click it. Sign in Smart Life APP with your account and password.
Choose Smart Life APP in the dropdown menu to complete the account linking.
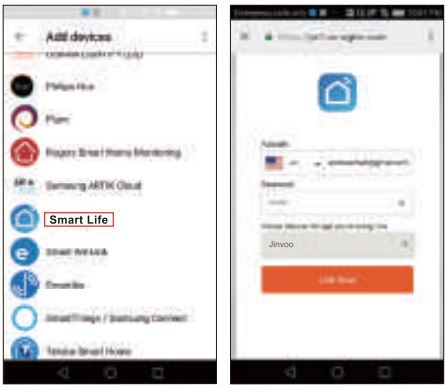
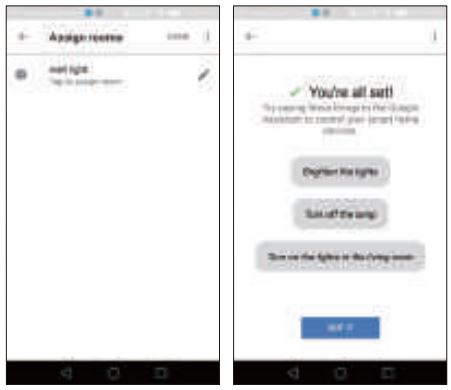
4. After successful account linking, in Google Home App you can see all the smart devices from your Smart life App account. You can assign rooms for each device.
5.Now you can use Google Home to control your smart devices, you can say like: OK Google. turn on/off wall light OK Google, set bedroom light to red .
IC Warning
This device complies with Industry Canada license-exempt RSS standard(s]. El funcionamiento está sujeto a las dos condiciones siguientes: (1) este dispositivo no puede causar interferencias, y [2] este dispositivo debe aceptar cualquier interferencia, incluidas las interferencias que puedan causar un funcionamiento no deseado del dispositivo.
De acuerdo con la normativa de Industry Canada, este transmisor de radio sólo puede funcionar utilizando una antena de un tipo y un máximo de
(o menor) ganancia aprobada para el transmisor por Industry Canada. Para reducir las posibles interferencias de radio a otros usuarios, el tipo de antena y su ganancia deben elegirse de forma que la potencia isotópica radiada equivalente[p.i.r.e.]no sea superior a la necesaria para una comunicación satisfactoria. [orlesser)gainapprovedforthetransmitterbyIndustryCanadaToreducepotentialradiointerferencetootheruserstheantennatypeanditsgainshouldbesochosenthattheequivalentisotopicallyradiatedpower[eirpJisnotmorethanthatnecessaryforsuccessfulcommunication
Garantía
El producto tiene un año de garantía a partir de la fecha de compra. No dude en hacernos saber qué podemos hacer para ayudarle cuando tenga algún problema con el producto.
Correo electrónico del servicio de atención al cliente de Tacking:
support.us@teckinhome.com

![]()

